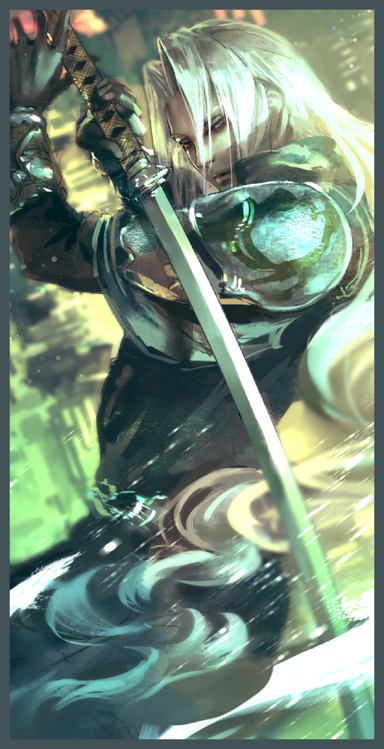
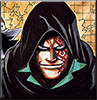
Thanks everyone, I fixed some stuff aswell this morning, added a shadow
under hes upper lip, and fixed hes ear, it was suppose to be a shadow not a metal piece which I thought it wasXD too mutch pein drawings for me latetly I guess.
kyubisharingan about the blur. I usual do it when im done with the coloring, making a new version of the photoshop file and name it 408coverblurr or something incase you need to change something later (cause you will need to merge everthing basicly)
Anyway what I do is I merge all layers for the character, exept the lineart same goes for the background.
After that we should basicly have one layer with all your characters colorings , one layer with your background, one layer for lineart and than maybe two more with logo/names etc which you can leave unharmed.
Now I usual turn off everything so I can see the lineart only, now try to seperate the lineart of the character away from the backgrounds lineart using a normal polygonal lasso tool. Once that is done you will have 1 layer with character lineart and 1 for the background now you can go ahead and merge the background lineart with the BG, and the character lineart with the character, (character lineart might be slighty wrong placed so move it around until you find the right spot)
I hope you get what I wrote so far, basicly what we want is two seperate layers, one with the character and one with the background including their lines from the lineart.
once we got that we can go ahead and make a copy of the character layer and one copy of the BG layer (not needed but if you dont want blur everywere on the BG its nesessary to do this).
now we comes to the trick, turn off one of the character layers, add gaussian blur or any blur you want on it, put it below your other character layer, now we have two layers of your character, one blurred which should be below and one non blurred which should be above, turn on both layers.
Now select the non blurred version of your character, you can take a big eraser with zero hardness and remove the parts on the character you want to be blurry. Same goes for the bg.
really hard to explain it good ,but the trick is to have two layers of the object you wanna have this effect on, one blurry and one orginal non blurred, have the blurry one underneath the orginal layer. and than use a blurry eraser and erase the parts you want to be blurry on the layer above, the blurry layer underneath will now be visible at those parts.
there might be some other way to do it, but yeh I do it this way, I hope you understod it, was quite hard to explainXD, could always do a guide about sometime.
ADDED: I guess you could make it even simpler by just merge everything so you get 1 layer, make two copies of that layer, make one blurry and put it under the non blurred one, and than use a erasor and remove the parts of the non blurred picture. and you get the same effect almost.
























 AMEN